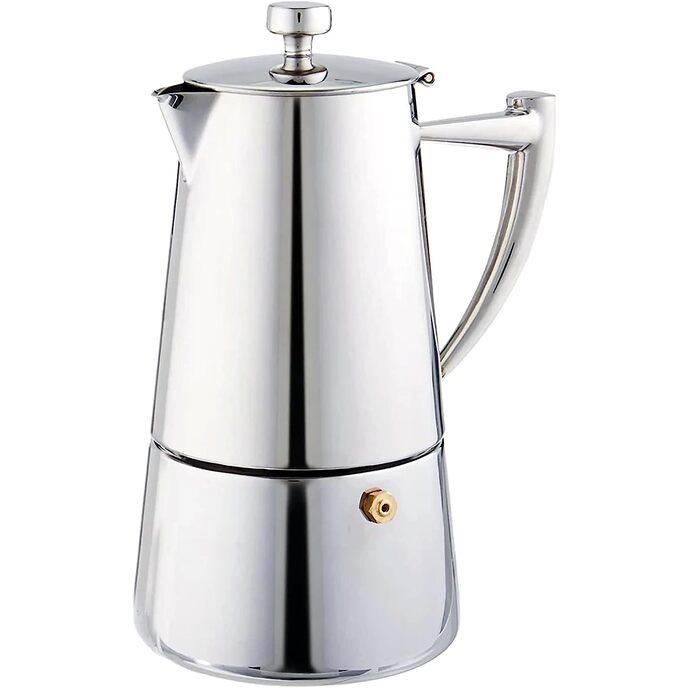
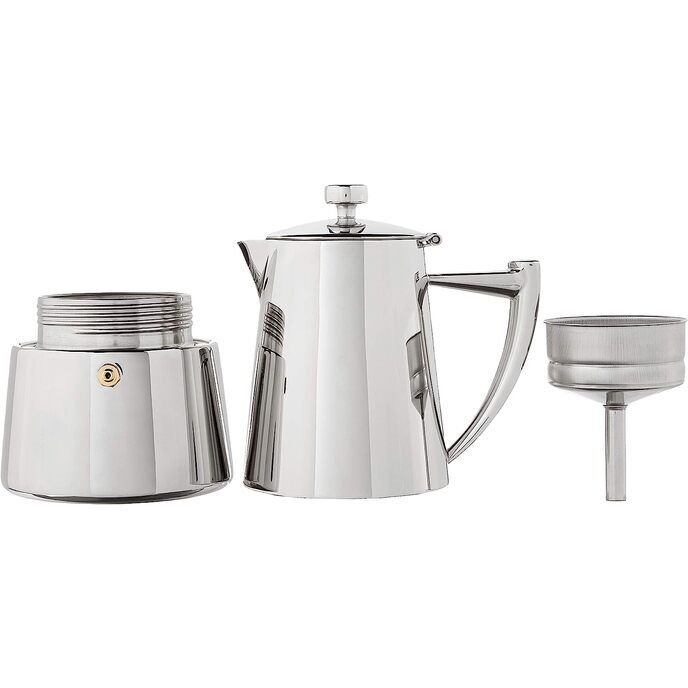
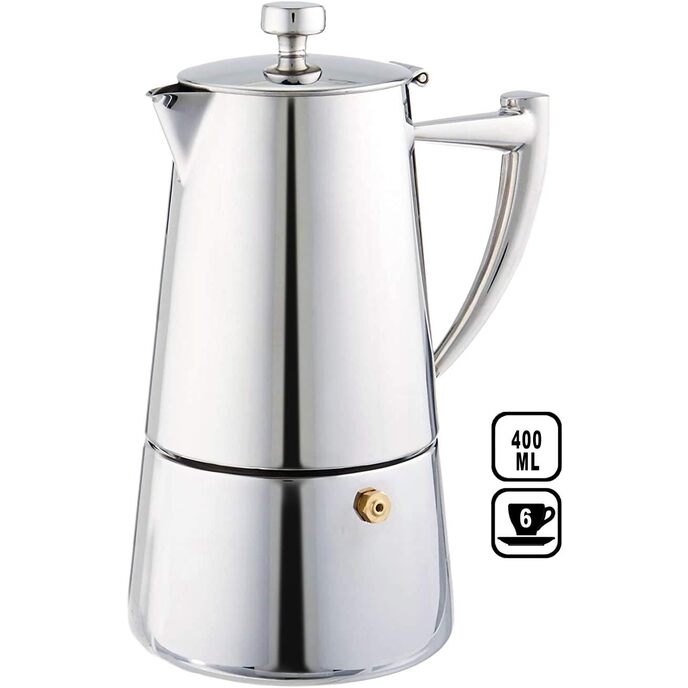
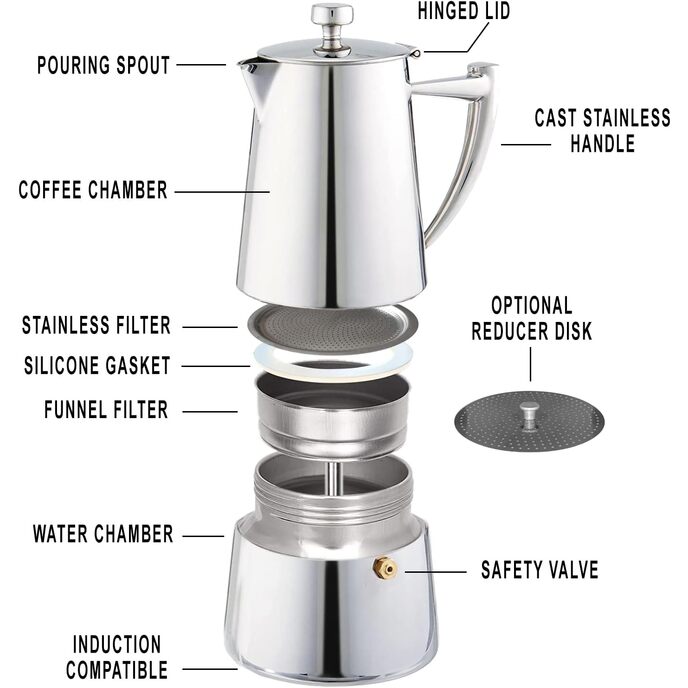
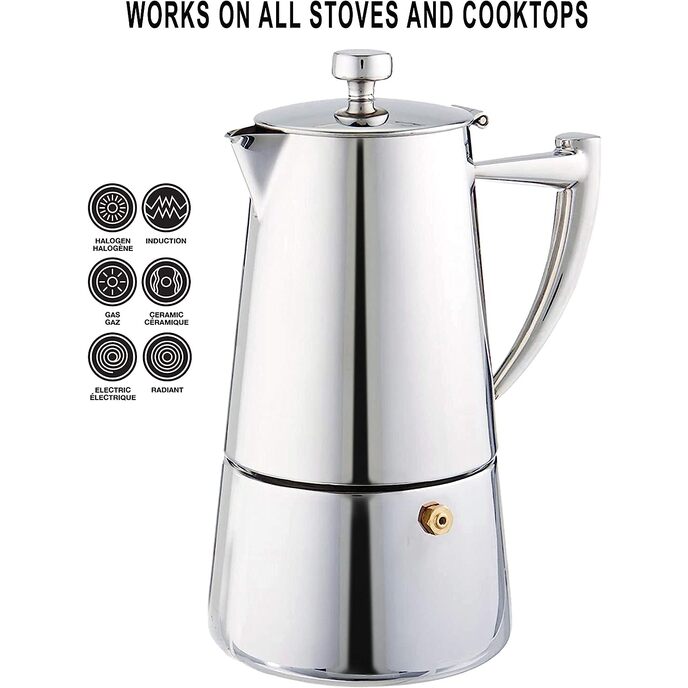
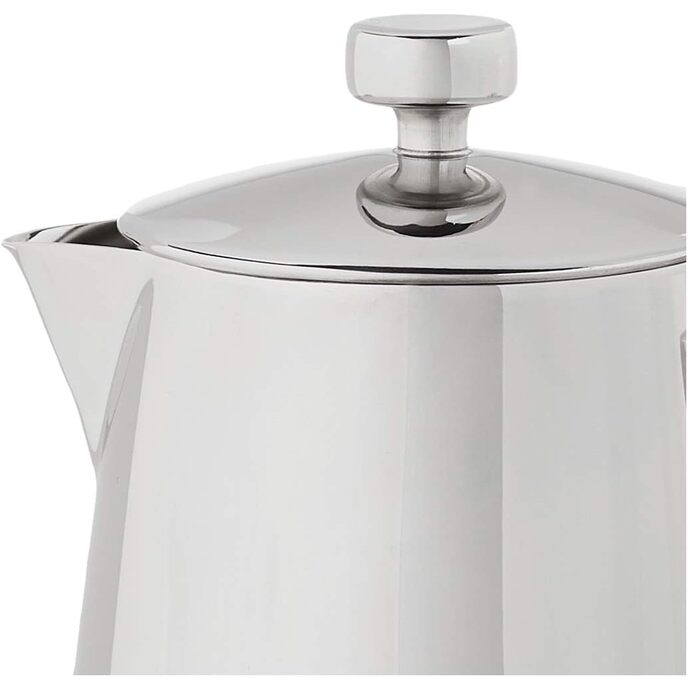
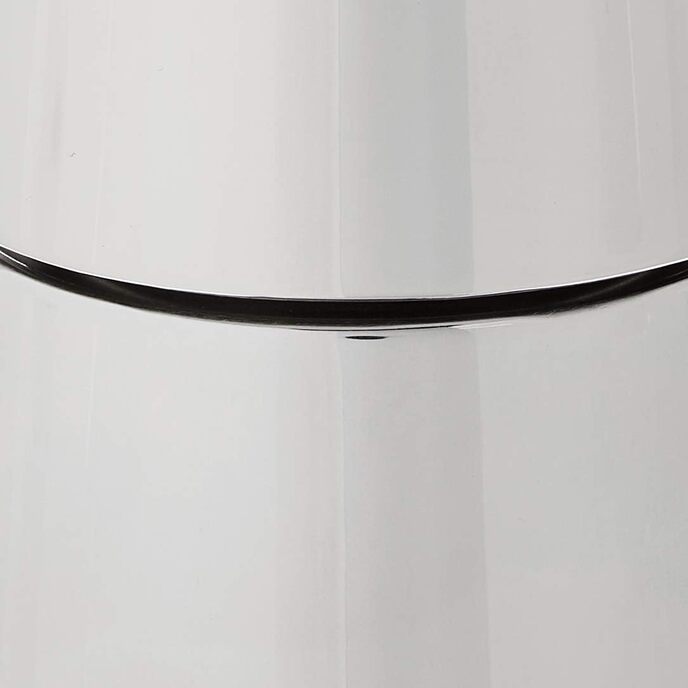
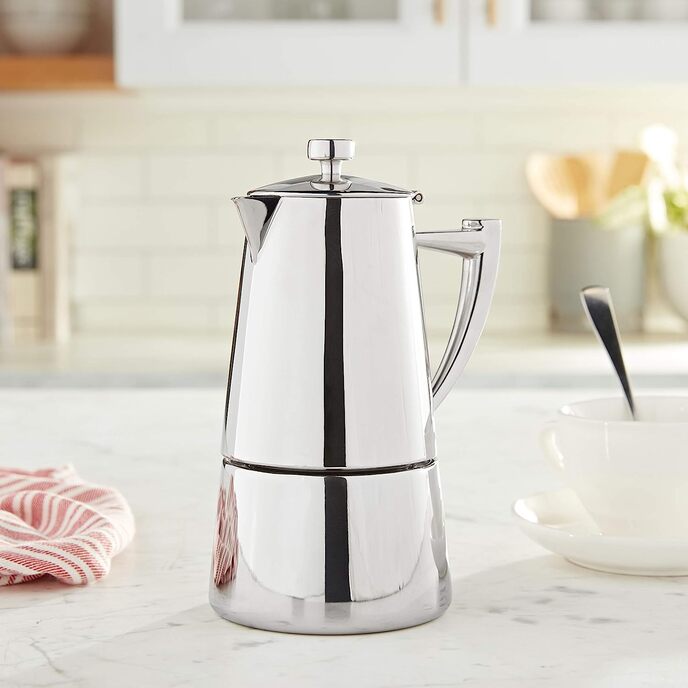
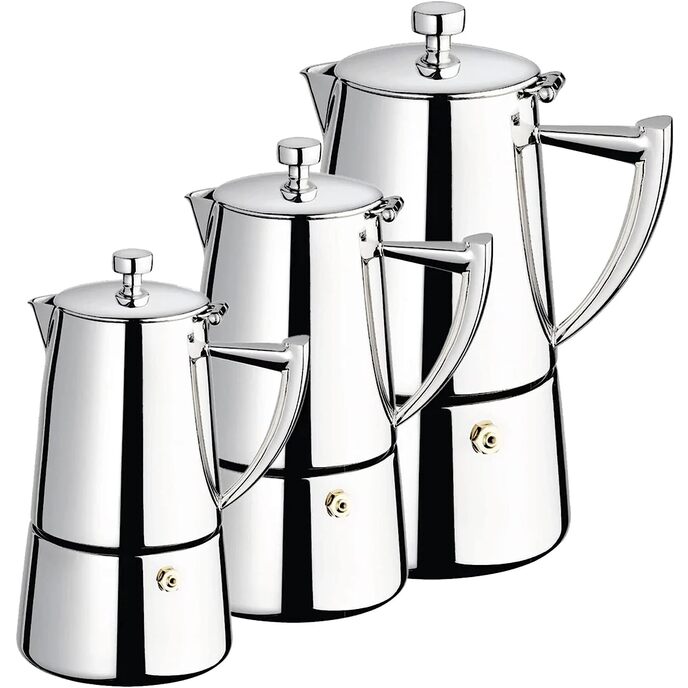
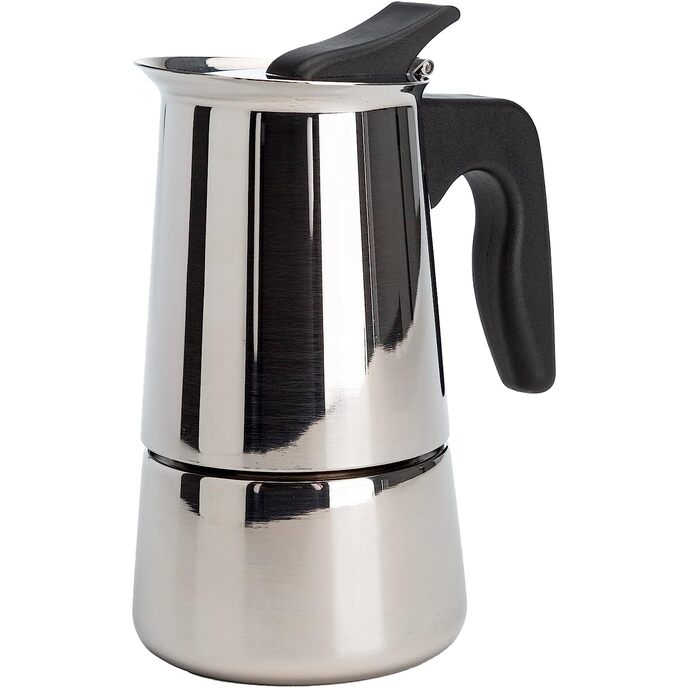
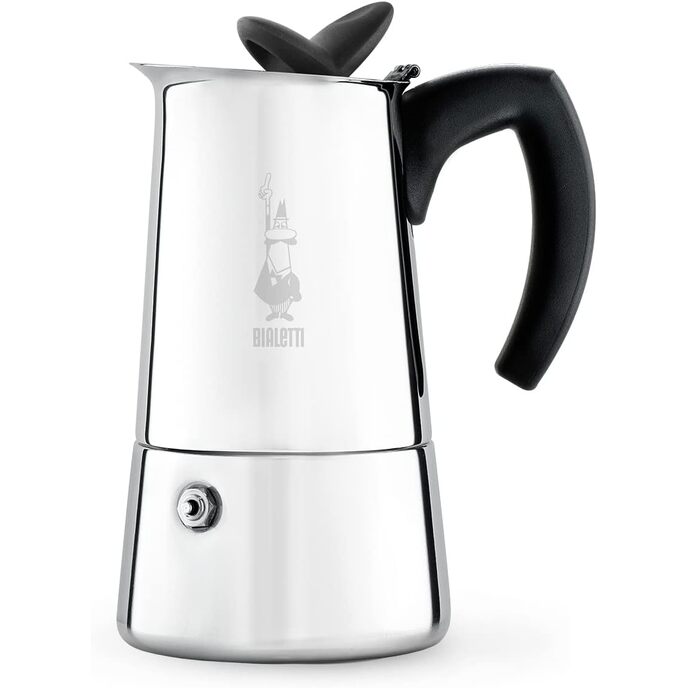
After reading reviews on all the stove top espresso makers I could find, I decided on this one. It is made out of a heavy gauge stainless- so there is some substance there. It also had fairly good reviews. It's a bit pricy at $99, but I wanted quality, not cheap. I also liked the handle being welded on in two spots. I also bought the Cuisinox Cappuccino Frother with it, since that is what I mainly wanted to make. It's also a bit pricy at $30, but again, seems to be good quality. The both have a nice mirrored finish on them. Both are made in China. The thing about things manufactured in China, or any where else overseas, is quality control. Cuisinox apparently takes quality control seriously, and these are both first rate. Amazon shipped them, and they arrived in good shape within a day after ordering. Packaging seemed adequate. ( I happen to live where Amazon has a main hub- so stuff doesn’t have to come very far.) I was anxious to try out my hand at espresso making. I went to Starbucks, and bought their espresso blend, on their recommendation, and had them grind it for me (~$13). As I’m new to this, I wanted to see what an espresso grind looks like. Turns out, it’s not much grittier then baby powder. (Bad Parenting Thought: Hmm, I’m out of baby powder, wonder if I can use this espresso in a pinch…) It came with adequate instructions. I didn’t wash the items with soap, but used very hot water and wiped everything out with paper towels. To season the pot, I used the reducer, so as not to waste a lot of coffee. A note about the reducer: The reducer is to reduce the amount of coffee you use. I read several reviewers who didn’t have a clue what it was for. It says in bold letters in the instructions, never to put it over the coffee. You put the reducer in the funnel first, and it reduces the funnel capacity by about a third. Fill the boiler with water to just below the brass safety valve. Then put the funnel into it. After putting coffee in the funnel, you want to take care to carefully wipe the rim area off that seats against the nylon gasket. I read several reviews where the reviewers had steam coming out the side of the seal, or coffee too weak, etc. This isn’t rocket science. You have to have a good gasket seal for the boiling water to be forced through the coffee. Also, I could see a potential problem if the funnel rim ever gets pushed in, or the lip on it ever got bent up slightly. As the funnel is of fairly light gauge, both issues can be easily fixed. You just have to do quick eyeball on it, to look for potential problems. On this particular unit, the gasket is fairly wide, and the tooling on where the funnel and boiler pot meet is fairly tight. I had no problems with a leaky seal. The top kettle part is then screwed onto the base. I didn’t use a whole lot of pressure to screw them together. Just enough to snug the seat into the gasket. I have an old electric stove with the ring elements on it. I turned it up to around ¾ high. As pointed out in the instructions, keep the handle off the element area. If you do this, the handle doesn’t get hot at all. It takes maybe 5-6 minuets to boil the water up into the top kettle. You can check it as it’s boiling- the lid never got hot (it‘s double walled), so you can stand there and watch it if you want. (be careful of the coffee though- it’s very hot!) While the coffee maker was doing it’s thing, I decided to try my hand at frothing. I had half a burner open, so… why not heat the milk on the other side of the burner? Well, it worked, but… more on that in the clean up section… The whole idea for heating the milk, is so you don’t cool down the coffee when you add it to it. (You can froth cold milk if you want.) I heated it to where it was hot to touch, but not boiling. Then I set it on the stove and started doing the frothing thing. You don’t have to be very aggressive or fast on it to work up a good froth. I used 2% milk (‘cause that was what was in the fridge…) You just plunge it gently to where you feel the plunger hitting the milk. I kept checking it thinking I didn’t have much froth there- but I did notice that the volume of milk had about doubled. It wasn’t until I poured some that I realized it was so frothed most of the bubbles hadn’t gotten to the top yet. OK- well, that worked way better then I anticipated… I had set the coffee aside on the stove while I was finishing frothing, then decided to try the “seasoning” brew. I added about 1/3 coffee to 2/3 froth/milk into a mug, and called my son down to try it. (he’s of legal age… let him be the guinea pig) He actually liked it, and said the coffee was very bitter. I gave it a try- it was actually very good. I tried some of the espresso with out the creamer in it- very good, but a little on the strong side for me. This morning I tried a pot without the reducer in it. It was very good as a cappuccino (with the frothed milk). It was way strong as an espresso, at least for me… Think I’ll stick with the reducer for mine. Clean up was easy, but you do have to do it. It is more work then using a drip brewer. I read some reviewers complaining about having to wait for the pot to cool down. Why? I filled the kettle with cool tap water and ran tap water around the boiler. Instant cool pot. It’s stainless steel, you’re not going to hurt it. In the instructions they tell you not to use the handle to unscrew the parts. I would head this advice. I don’t see much heat penetration where the handle is welded, looking at the inside of the pot. It seems sturdy enough, but just take care. Also, when you clean the top kettle portion, be sure to pull the gasket and top strainer out every time. I noticed water under the gasket, and this could be a potential rust spot. (yes, stainless steel will rust- it just takes longer) How do you get the gasket out? I took a thin pairing knife and slipped it down the side of the gasket, and gently pried it up with the dull side of the knife- easy. Also, the espresso maker comes with an extra gasket. (in case one might like to pry it up with the sharp side of the knife) Clean up of the frother basically involves rinsing with hot water, and wiping it down. Although, where I set the frother on the burner, the milk burned to the metal. Not hard to clean- used a scouring pad. Today my wife heated a cup and a half of milk in microwave for 2 ½- 3 minuets, and we kept the frother just for frothing. Overall, I think both the espresso maker and frother are of pretty good quality, and should last a long time. I’ll be using it just on weekends, instead of the drip brewer. If I run into any major issues, I’ll keep you posted.