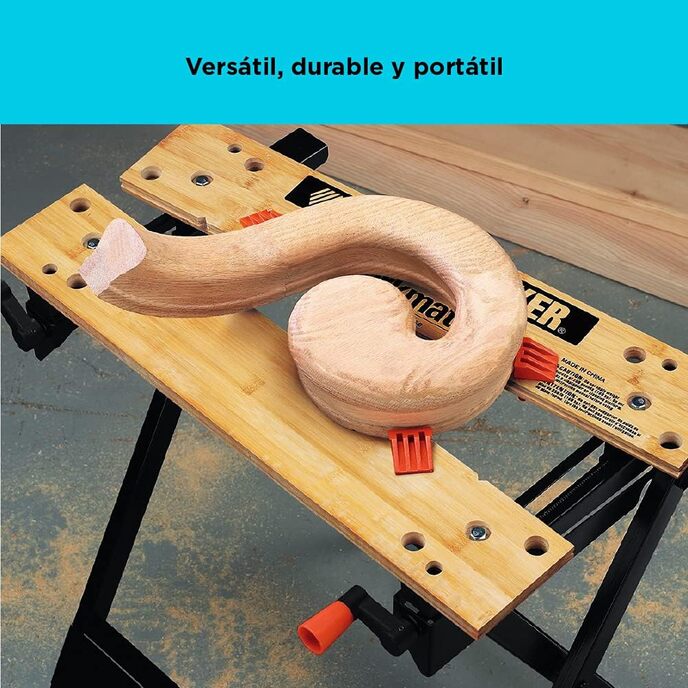
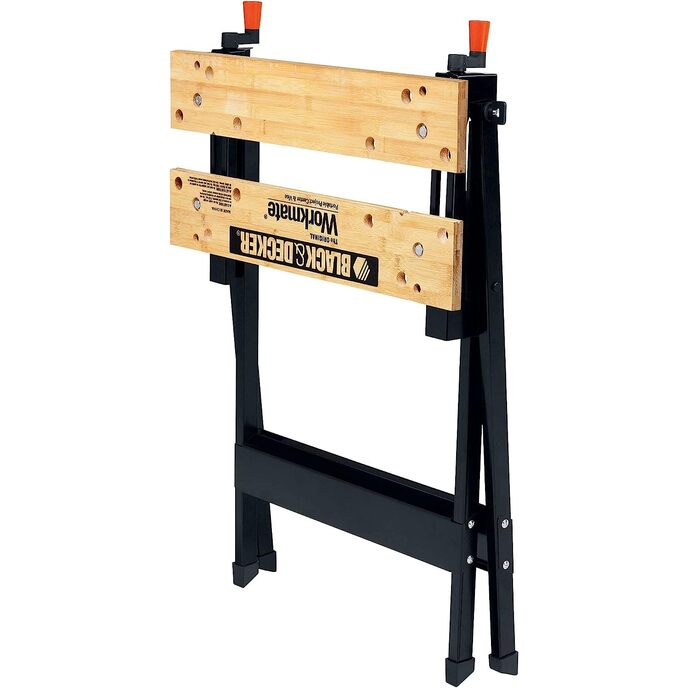
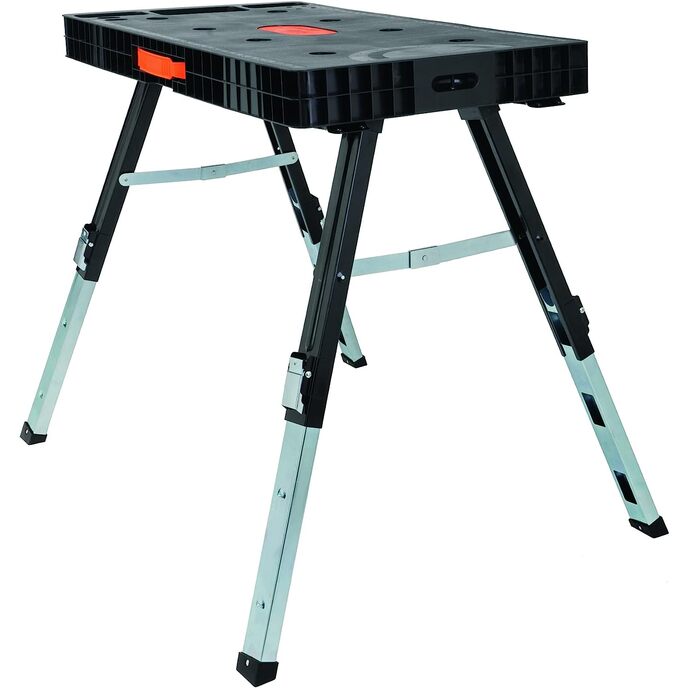
This is and does exactly what you'd expect, if your expecations are reasonable. However, it's noticeably of a lower build quality than the larger models WM225 and WM425 (both of which I've used; presumably also the BDST11000, though I haven't used that). Just reviewed in a vaccum without any comparison to other products, this is entirely serviceable as a very light-duty mini-bench/vise and a saw horse. As to build quality, this arguably isn't a 5-star product under any circumstances. But I'm not reviewing in a vacuum, so this definitely loses half a star each for missing features and downright unprofessionally bad instructions. Surprisingly, the Powertech MT4006 and Harbor Freight (US General) 47844 competing product (which is the same from both vendors, just differently branded, and cheaper at HFT) is actually superior. That must be a first! The WM125 seems to be a cheapie outsourced product that B+D just slaps its name on. That other multi-brand one is also low-build-quality Chinese stuff, but *as good* quality, has tool-holding slots in the crossbraces which are actually useful, has measurment markings on it like the WM425 and BDST11000 do, has leg cross-braces for added stability and certainty of proper deployment, has V-notches in the clamp edge for holding cylindrincal stock that are actually big enough to work, and has better bench dogs (the plastic work-holding inserts) than the B+D ones. In all of these cases I absolutely would NOT trust such a bench as a miter saw or other massive-tool bench. None of them are sturdy enough for that (well, maybe for a 10'' mini one, but certainly not a full-size 14'', and especially not a large *sliding* miter saw; that would be downright dangerous). I don't feel that way about the much more sturdy WM225 and WM425. These little WM125s, like the HFT equivalents, are best as mini-benches for use with hand tools, as big clamps, and as fancy-pants saw horses. On the up side, the dog holes are the same, so you can use the HFT dogs with the B+D bench if you have both, as I do. They can be used together quite well for most purposes, though aren't *quite* the same height (a half-to-one-inch difference; I can measure if it someone cares that much). To its credit, the B+D model has bamboo bench tops while the other brands use MDF, but that's not much of a selling point. The instructions, as others have noted, are stupid-wrong; pretty much the worst ever written. They just fall apart at stage 4 and do not make any verbal sense nor have illustrations that correspond to what they're saying., The dismissive reviewer is correct than an intelligent person could eventually figure how how to build this without instructions at all, but it would be a lengthy, frustrating, trial-and-error puzzle, and *that's not what we paid for*. If I want to play a puzzle game, I'll get one from GOG or Steam, thanks. The assembly video on YouTube certainly helps, but even it shows a poor way to assemble this, and cheats a lot by editing in later cuts that clearly don't show the same bench and parts in the same positions. It's as if the B+D employee building it and recording this (seemingly on a phone cam) realized belatedly that he was doing it the hard way, then fudged over it later, rather than getting someone else to hold the camera and move it as needed while they re-shot those segments. My own build hints: Use a wall for support when needed; that obviates a lot of annoyance and any need for another pair of hands. Do not depend on the included plastic nut driver, which (due to its flanges) cannot be rotated to tighten the nuts on some of the carriage bolts. But don't over-tighten; remember that the legs are hollow, parts of this are plastic, and it needs to fold up. Attach the B&D-branded cross-brace first, since that shows you unmistakably which way is up on these things. Turn the bench on its side when assembling the vise with its sliders; trying to do it with the bench upright as the video attempts to show (they "conveniently" edited out the very awkward mechanics of it) is just boneheaded. Do as others suggest and use bolts and nuts to attach the handles to the vise rods (not the included plastic pins), but use pan or cap-head #6-32, 1'' bolts in particular, since 1-1/4'' stick out a lot. For the feet, instead of using more through-bolts and nuts, use a 7/64'' drill bit and 1/2'' #6 pan-head sheet-metal screw to attach each foot (less stuff sticking out); the goal is to drill a hole just slightly smaller than the screw, and use a drill driver with some force to slowly insert the screw (the through-bolting suggestions have you drill a hole larger than the bolt, to just slip it in, which called for a larger bit). Use a padded surface (rug on the floor, whatever) and a rubber mallet to join the two pieces of the handle, instead of trying to manually snap them together; it'll be easier and less likely to severely pinch you (and less likely to break the handle than using a metal hammer). I think it would be an under-30-minute build done that way, if you're handy, even including drilling holes for the feet screws. If you're not very handy, budget 45 minutes, after watching the video then thinking about what I said about how to do it better, so about 1 hour.